When it comes to cheesecake, serve me up a slice—ASAP!
It’s a great dessert to have on hand for gatherings, and when you’re in a hurry, this recipe is just the one to grab and go, as it’s a no-bake so it’s quick and easy.
What’s better, you ask?
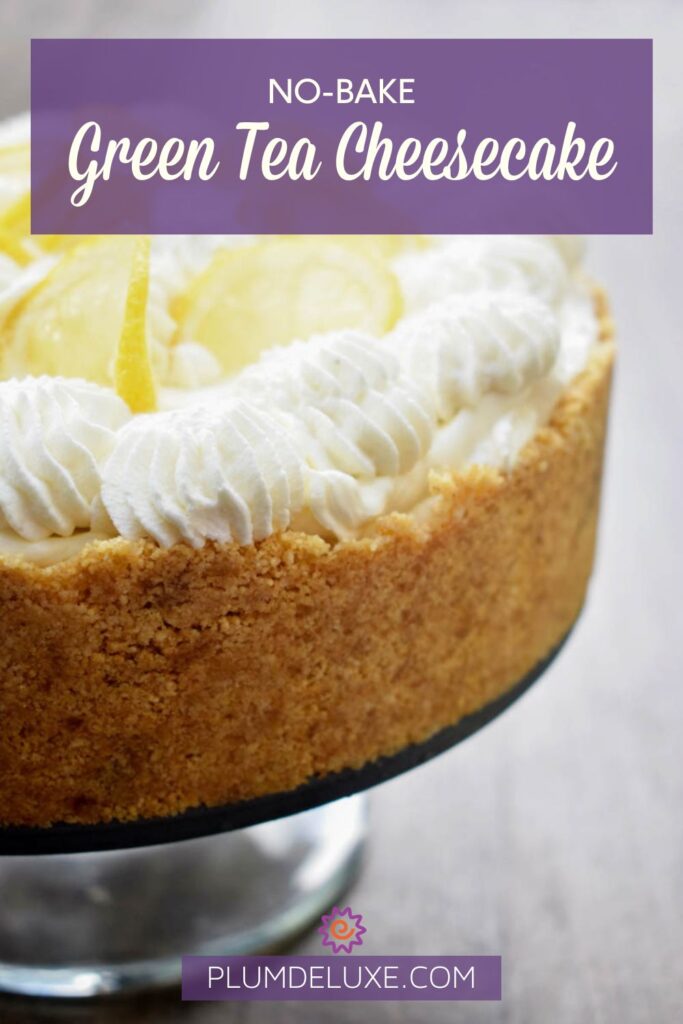
The incorporation of our Queen’s Blend green tea, which is a lemon crème Earl Grey. It’s the perfect match to the velvety cream cheese and whipped lemon topping you’ll find in this no-bake green tea cheesecake.
No Matcha—No Matter
Most no-bake cheesecakes that incorporate tea include matcha. It’s the standard go-to. However, why stick with only what is tried and true? Why not mix things up? That’s exactly what we did here!
Matcha is a finely ground powder made of green tea. It has a unique flavor profile that wraps in grassy notes, a touch of sweetness, and a tinge of bitterness. The balance of all of these aspects is dependent on how much you use and how you’re preparing your matcha, as well as what else is being incorporated with it.
When preparing it in a no-bake cheesecake, the cream cheese will nicely balance out the flavors and still allow the matcha to show through. To accomplish this in this no-bake green tea cheesecake recipe with our Queen’s Blend green tea,I used more tea and steeped for a long period.
The resulting flavor (and color) still is not what you expect with matcha, but everything is just as wonderful. Perhaps even better! It’s light, airy, and very delightful with subtle nuances and depths of flavors.

Cold Brew and Hot Brew Milk Tea
For this recipe, we’re going to utilize both cold brewing and hot brewing your tea into your heavy whipping cream. Both are very simple and will really draw out the yummy lemon, vanilla, balance, and softness of the lemon crème Earl Grey green tea.
When hot brewing tea in milk, or in this case your whipping cream, slowly bring your cream and tea leaves to a simmer on the stovetop. Once it reaches a simmer, before a boil, you’ll remove the pot from the heat and let your tea leaves steep for an hour. This really allows the flavors to expand into the milk as it cools. Then you’ll strain it and place it in the refrigerator overnight.
When you cold brew, which we’ll be using for the whipped topping, it’s as easy as adding your whipping cream and tea leaves to a small mason jar. Stir and shake well, then place in the refrigerator overnight for at least 12 hours.
Both are simple and will really extract the flavor profile from the tea that we’re looking for in our no-bake cheesecake!

Luscious Lemon No-Bake Green Tea Cheesecake Recipe
- 2 cups graham cracker crumbs
- 1/3 cup dark brown sugar
- 1/2 cup unsalted butter, melted
- 3/4 cups plus 3 tablespoons heavy whipping cream
- 5 tablespoons Queen’s Blend green tea
- 2 8-ounce blocks of cream cheese
- 1/3 cup sugar
- 1 and 1/3 tablespoons powdered sugar
- 1/8 cup plus 3 tablespoons sour cream, room temperature
- 1 and 1/3 teaspoons lemon juice
- 1/2 teaspoon vanilla extract
- 2 cups heaving whipping cream
- 2 tablespoons Queen’s Blend green tea
- 1/2 cup powdered sugar
- 1 teaspoon lemon extract
Combine all ingredients in a bowl and mix well with a fork until thoroughly combined. Using a 9-inch springform pan, press along the bottom, and about one-third to halfway up the sides very firmly. The coverage on the sides doesn’t have to be perfect. Cover and place in the refrigerator to set.
Directions for Cold and Hot Brewing Milk Teas:
On low heat in a small pan, while stirring consistently, bring the heavy whipping cream for the cheesecake filling and Queen’s Blend green tea to a simmer.
Just before the mixture comes to a boil, remove from heat, and let steep for one hour.
Once cool, strain the tea mixture through a sieve and use a wooden spoon to squeeze out all the steeped heavy cream. Place the cream into a dish or cup and set it in the refrigerator to cool overnight.
Place the heaving whipping cream and Queen’s Blend green tea for the cheesecake whipped topping into a mason jar. Add the lid, shake well, and place in the refrigerator to sit overnight.
Directions for Cheesecake Filling:
Using your stand mixer with the whisk attachment, mix your hot tea-infused heavy whipping cream on medium to high speed. Mix for several minutes until stiff peaks form. Set aside.
Use your stand mixture with either your whisk or paddle attachment to beat the cream cheese and sugar until it’s nice and smooth: creamy. Make sure to continually stop and stir your mixture throughout to keep your ingredients incorporated.
Once it’s fully blended, add the powdered sugar, sour cream, lemon juice, and vanilla extract. Beat on high for 2-3 minutes until it’s smooth and there are no lumps of cream cheese remaining.
Using your stand mixer on low, gently fold your whipped cream mixture into your cheesecake filling until combined, but make sure not to over-combine as doing so will flatten your light and airy dessert.
Remove your graham cracker crust from the refrigerator and spread your cheesecake filling into the graham cracker crust. Cover and place in the freezer.
Directions for Cheesecake Whipped Topping:
Once your mixing bowl is clean from the previous step, run it under very cold water to cool it for this next step. If you’d like, you may also set your mixing bowl in the freezer for 15-20 minutes to let it chill before making your whipped topping. This helps the peaks form easier.
Using your stand mixture and your whisk attachment, mix your cold brew tea mixture, powdered sugar, and lemon extract on low speed for 20 seconds. As it begins to firm up slowly increase the speed to high and beat for about a minute-two until stiff peaks form.
Make sure you stop to scrape your bowl halfway through.
Add your mixture to your piping bag and feel free to pipe onto your cheesecake however you like.
To ensure your cheesecake sets properly before serving, make sure you wrap it tightly and place your finished cheesecake in the refrigerator for at least six hours.
I prefer to let mine sit overnight to let it set properly and cut nicely.
When you’re ready to serve, use a knife to loosen the cheesecake from the pan before you remove the rim.
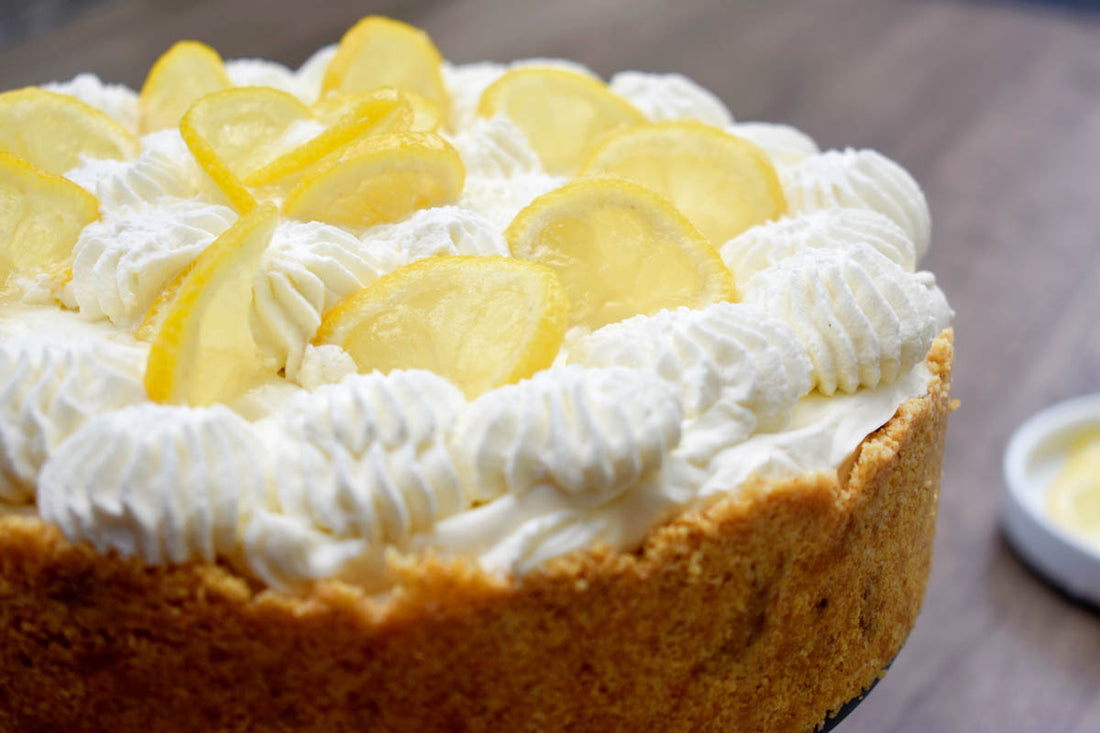
Feel free to adorn it with a few sugar-coated lemon slices for a little added zest!
![Summer Iced Tea Variety Pack [6-Pack Variety of Flavors]](http://www.plumdeluxe.com/cdn/shop/files/summervarietypack.png?v=1713833466&width=239)