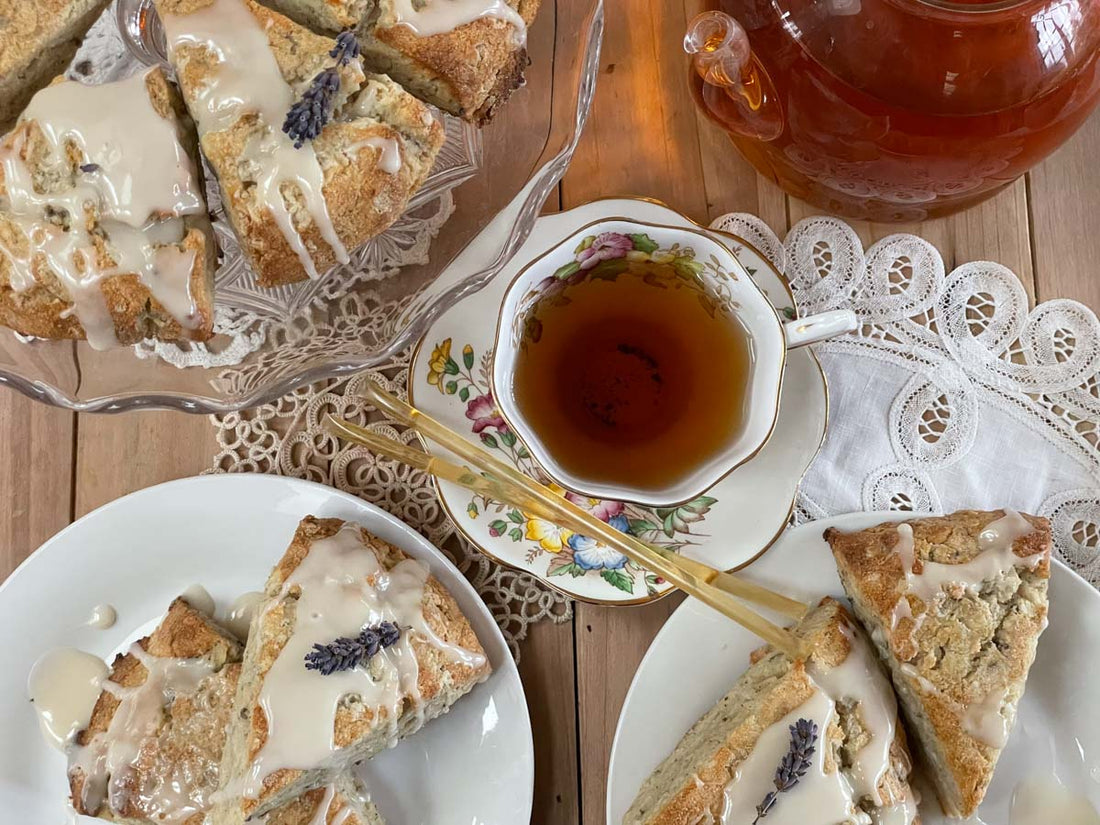
Nothing brings elegance to your tea table like lavender scones. And nothing evokes the joy of spring like the combination of honey and lavender.
The flavors in combination conjure images of perfumed fields filled with sun-dappled lavender humming with the gentle buzz of bumblebees. Transport yourself to a tranquil teatime oasis with these lavender honey scones—the perfect way to elevate your teatime, whether you’re hosting a stylish tea party in your garden, housing a quick snack in the middle of your workday, or lounging in your pajamas on a lazy weekend.
Nothing relaxes you like lavender.

Lavender Honey Scones: Sweet Sophistication
Personally, I’m a sucker for lavender. And for honey.
If you have a baked good (or a cocktail) with either ingredient, you have my attention. If you have both, I’m all in!
Lavender honey scones are a culinary collaboration of two of my favorite things. Delicately sweet, delightfully aromatic, decidedly delicious.
Any fans of florals will fall in love with these scones immediately! The lavender flavor really shines and is beautifully complemented by the sweet undertones of honey wafting through every bite.
The scones have a lovely crunch on the outside and a wonderfully layered, soft texture on the inside. Dotted with whole lavender buds and infused with your choice of ground culinary lavender or your favorite lavender tea, the scent and taste of one of nature’s most soothing blooms flood your senses from the moment you pat out your dough to the moment you swallow the last honey-glazed morsel.

Assembling Your Scones: Tips and Tricks
As with any scone recipe, the secret to excellent lavender honey scones is very cold ingredients.
It’s definitely worth the time and small effort to freeze your butter, chill your ingredients when you’re not handling them, and let your dough rest in the fridge before baking.
Chilled Butter
The difference between scones baked with very cold butter and room temperature butter is just silly. Trust me. Cold is key.
The easiest way to get perfect scone-approved butter is to grate it when it’s fresh from the fridge, then freeze it for at least 10 minutes, or even overnight.
Technically, you can grate butter after it’s been frozen. I wouldn’t recommend it, however. It takes way longer, is way less fun for your hands, and partially defeats the purpose—the butter will heat up from the warmth of your hands and the friction of the grater.
I also would not recommend trying to grate butter at room temperature. You’ll just end up with a mess on your hands. (Literally.) And the butter won’t hold the shape necessary to get those lovely little butter flakes that make it so perfect for scones. (And pie! Bonus.)
Another point in favor of grated cold butter is that it is ideal for those “pea-sized lumps” that bakers are always talking about when they cut butter into the flour. You toss your cold grated butter with your flour and boom—you’re good to go. You can cut it further with a pastry cutter or two knives if you’d like, but really, your grater has already done the work for you.
(I can’t talk this much about butter in a honey scone recipe without mentioning this whipped honey butter. You can’t use it in your scone batter, but you could eat it on your scones once they’re baked—delectable!)
Making Infusions
For extra depth of flavor, or if you’re a plan-ahead kind of person, try infusing your milk or cream with a teaspoon of lavender buds or your favorite lavender tea a day in advance.
You could also kick your scones up a notch with infused sugar. Or save yourself the trouble and use Plum Deluxe honey dust—a deliciously sweet blend of organic cane sugar and raw honey! A perfect add-in for your favorite scones or tea any day!
Please note: the flavors in this recipe are fairly strong. If you infuse your milk or sugar, you may want to reduce the amount of lavender or tea leaves in your dough. Or power forward, full steam ahead! It’s all according to your taste.
PS, if you can’t ever get enough lavender, check out this gorgeous lavender coconut macaron cake, these lovely apricot lavender scones, or this refreshing iced London Fog with lavender Earl Grey!

Lavender Honey Teatime
Your butter has been chilled to perfection. You’ve chosen whether to infuse or not to infuse. Your scones have been baked to a beautiful golden brown and drizzled with a gooey ribbon of honeyed glaze.
The time has now come to relax with that beautiful triangle of honey-lavender perfection and let your troubles melt away. Close your eyes and picture rolling fields of lavender, the scent gently wafting in the breeze, the sun shining down on your face…and you, with your scone and your favorite cup of tea.
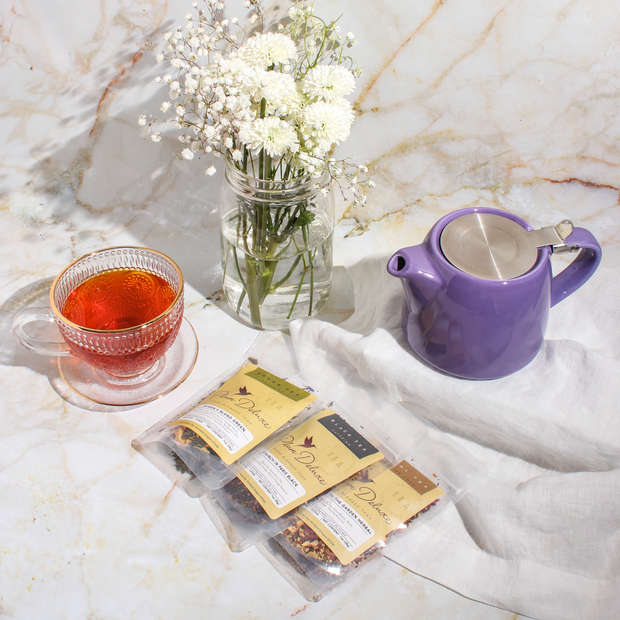
No scone is complete without a complimentary cuppa. For lavender honey scones, you’ve got plenty of appealing options!
To lean into those lavender flavors, you could pair them with your favorite lavender tea, hot or iced.
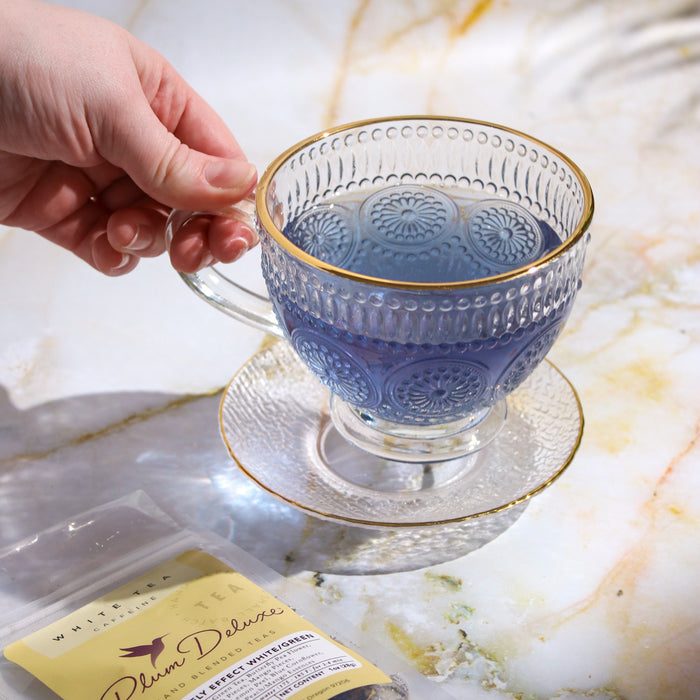
Dream the day away with Lavender Day Dream white tea, with its fruity overtones of apricot, peach, and mango.
Relax with Calm Chamomile Bloom, a soothing herbal blend of lavender, rose, and chamomile.
Find your bliss with Easy Like Sunday Morning herbal tea, a chocolate lavender blend that makes any day of the week feel like a lazy Sunday morning!
For a perfect pairing that complements the lavender without overly enhancing it, curl up with Reading Nook—a rose, chamomile, and lavender black tea (also available in decaf!) that happens to be my all-time favorite Plum Deluxe blend.
Or pair with any number of your favorite black teas.
A creamy vanilla English breakfast tea. A delicate lemon elderflower tea. A classic Earl Grey.
Choose the tea that speaks to your soul, dish yourself up a lavender honey scone, and bask in the glory of a perfect spring teatime.
Cheers to you!

Lavender Honey Scones
- 2 cups Jen’s Gluten Free Flour Blend (recipe below) or 1:1 GF Flour Blend of choice*
- 1/4 cup sugar
- 1/2 teaspoon salt
- 2 and 1/2 teaspoon baking powder
- 1/2 cup (1 stick) butter, grated and frozen
- 1/2 cup milk** with a squeeze of lemon juice, OR heavy cream or buttermilk (plus an additional 1-2 tablespoons for brushing – optional)
- 1 large egg
- 1 and 1/2 teaspoon vanilla extract
- 1 tablespoon culinary lavender OR lavender tea of choice, ground, crushed, or finely chopped
- 1 tablespoon culinary lavender, in bud form
- 1/4 cup honey
*If gluten consumption is not a concern, feel free to use all-purpose flour.
**For a stronger lavender flavor, steep an additional 1 teaspoon favorite lavender tea or 1 teaspoon culinary lavender in milk overnight.
Ingredients for Honey Glaze:
- 1/2 cup powdered sugar
- 2 teaspoon milk, cream, or lavender tea of choice
- 1 tablespoon honey**
Grate butter with a cheese grater. Store in freezer while prepping the rest of your ingredients (or overnight).
Assemble all dry ingredients except butter in a large bowl. (Flour, sugar, baking powder, salt, and tea leaves or lavender.) Place bowl in refrigerator while you continue your prep.
Whisk milk, eggs, and vanilla together in medium bowl.
Remove dry ingredients from fridge and butter from freezer. Using a pastry cutter or two knives, cut the butter into the dry ingredients.
Add milk mixture. Stir until dough just begins to form. Turn the dough onto a lightly floured surface and knead just enough for the dough to fully come together. If it seems too dry, add a little more milk. If it seems overly sticky, add a little more flour.
Shape dough into a roughly 8-inch circle. Cut circle into 8 wedges.
If time allows, rest in fridge for 15 – 30 minutes to allow ingredients to chill again after being handled. You could also prep these the night before, wrap them in clingwrap or beeswax, and leave in the fridge overnight. (If you must skip the chilling step, don’t worry, your scones will still taste good!)
Preheat oven to 400 degrees Fahrenheit.
Optional: For a crispier outside texture, brush dough with milk immediately before placing in oven.
Bake 18-22 minutes, or until tops are golden brown.
Remove from oven and allow scones to cool completely before drizzling with glaze. (Or enjoy them immediately with lots of napkins for sticky glaze fingers. Your choice!)
Directions for Glaze:
Assemble all ingredients in a bowl. Mix until combined. Adjust as necessary for desired runniness—if too thin, add more powdered sugar. If too thick, add more liquid.
Once scones are cooled, drizzle glaze to coat each scone as desired.
Enjoy!
Jen’s Gluten Free Flour Mix
Originally found in Living Without—a gluten free magazine- 2 and 1/4 cups brown rice flour
- 3/4 cups sweet rice flour
- 1/3 cup corn starch
- 1/4 cup potato starch
- 2 teaspoons xanthum gum or guar gum
Combine all ingredients.
Can be used immediately or stored in fridge in an airtight container.
*Will make more than you need for this recipe, but can be used for any gluten-free baking. Feel free to double or triple to keep on hand for other recipes!
![Summer Iced Tea Variety Pack [6-Pack Variety of Flavors]](http://www.plumdeluxe.com/cdn/shop/files/summervarietypack.png?v=1713833466&width=239)